About this deal
Back 2 Nature Small Animal Bedding "it's all in the name" which reflects and encompasses the company ethos. The natural absorption qualities of the recycled pellets helps to keep the area dry and the used pellets don't stick to the cage / aviary or scoop, making cleaning faster and simpler. I have been trying to find a suitable litter for my rabbits that was absorbent without being too expensive.
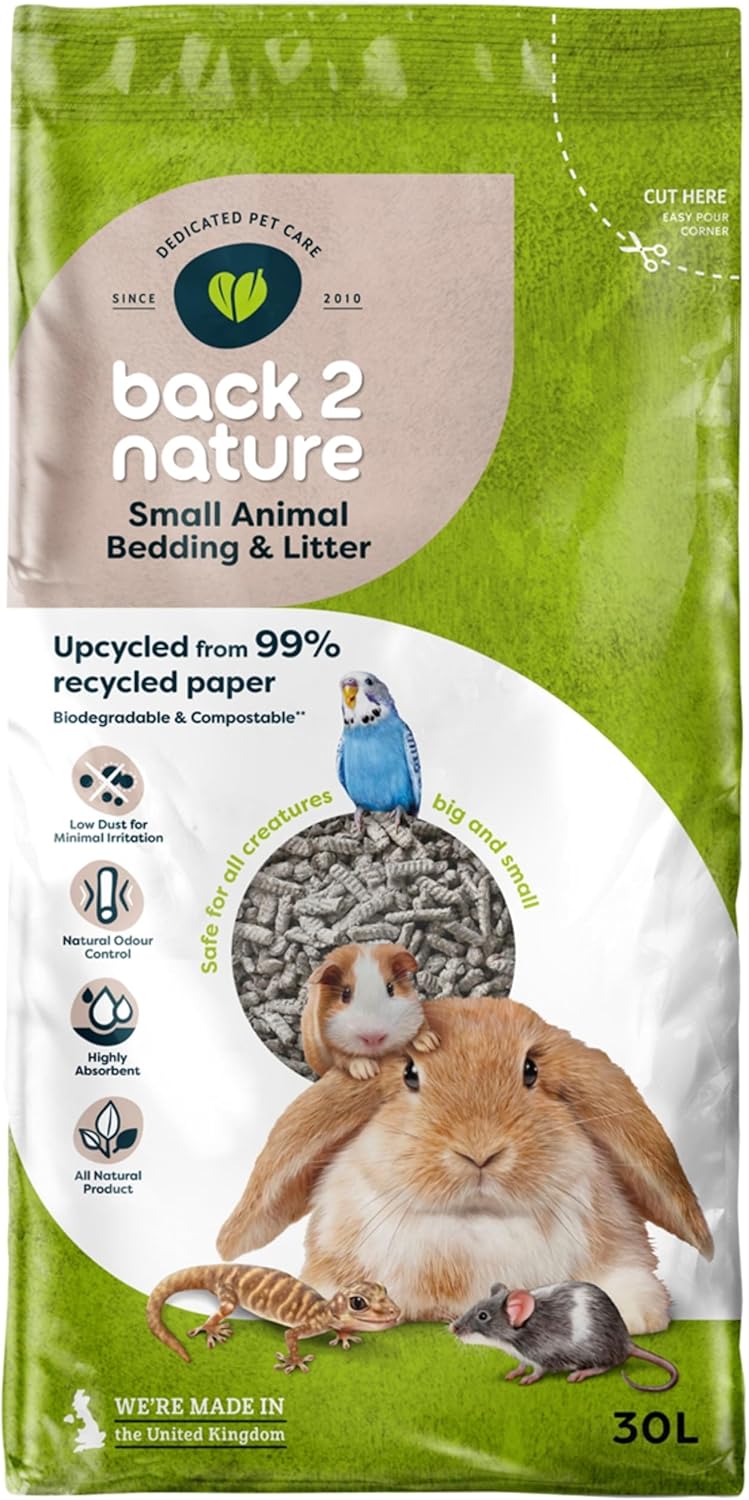
With other products, I had trouble getting my rabbit to use the tray but they took to this straight away without much encouragement. The unique formulated Back-2-Nature small animal bedding and litter pellets are made from 99% recycled paper with no additives or chemicals. The Natural odour absorption qualities of the recycled paper product minimizes odour without the use of additives or chemicals. Top up with fresh pellets as and when, and completely replace all of the litter at least once per week.Keep your small pet's bedding area clean and hygienic with this efficient Back-2-Nature Small Animal Bedding, in the form of handy biodegradable pellets. Sterile at point of manufacture Back-2-Nature is low in dust reducing the irritations that occur from hay and pine shavings. It is an ideal replacement for the traditional wood shaving cage dressing amd is cleaner and easier to 'muck-out' than traditional beddings and litters.
Suitable for Rabbits, Guinea Pigs, Ferrets, Chinchillas, Degus, Rats, Gerbils, Syrian Hamsters, Dwarf Hamsters and Mice. This Back-2-Nature Small Animal Bedding is made without any additives or chemicals and is lightweight, making it particularly easy to use.That's one of two bedding/litter we can use to do having allergies to all the other available bedding. Back-2-Nature Small Animal Bedding is almost entirely dust-free, stopping it from tracking through your home and marking your floor. Suitable for all Small Animals (from the smallest Mouse to the largest Rabbits), Birds and Reptiles. Suitable for Reptiles, Rabbits (as a litter only), Ferrets, Chinchillas, Degus, Rats, Chipmunks, Syrian Hamsters, Gerbils, Mice, Dwarf HamstersSubstrates are a vital part of looking after reptiles, amphibians and invertebrates, as they replicate their natural environment, helping them to feel .
With a flatter surface area, back-2-nature offers a safer experience for little paws and ankle joints as the pellets don’t roll around when hopped or scurried across. Back 2 Nature Small Animal Bedding “it's all in the name” which reflects and encompasses the company ethos. Please note that if you are purchasing a mix of Light and Heavy items at the same time, these will be sent separately. Small pet bedding made from recycled paper, biodegradable and low in dust, offering natural odour control and helping to absorb moisture for hygiene and freshness.
Discount code expires one month after receiving and cannot be used in conjunction with any other offers of promotions. back-2-nature Small Animal Bedding and Litter can be composted once the waste is removed, but we recommend you check with your local council. I used it as a top layer over woodshavings as it is expensive, so it just absorbed and didn't release the urine again when the bunnies were sat in it. When it is time to dispose of the litter, it is biodegradable, so you can help the environment as well as your pet! To get it faster you can upgrade Light items to Royal Mail 1st Class Tracked or a Guaranteed Courier service, Saturday Courier or even before 12 noon services.
 Great Deal